


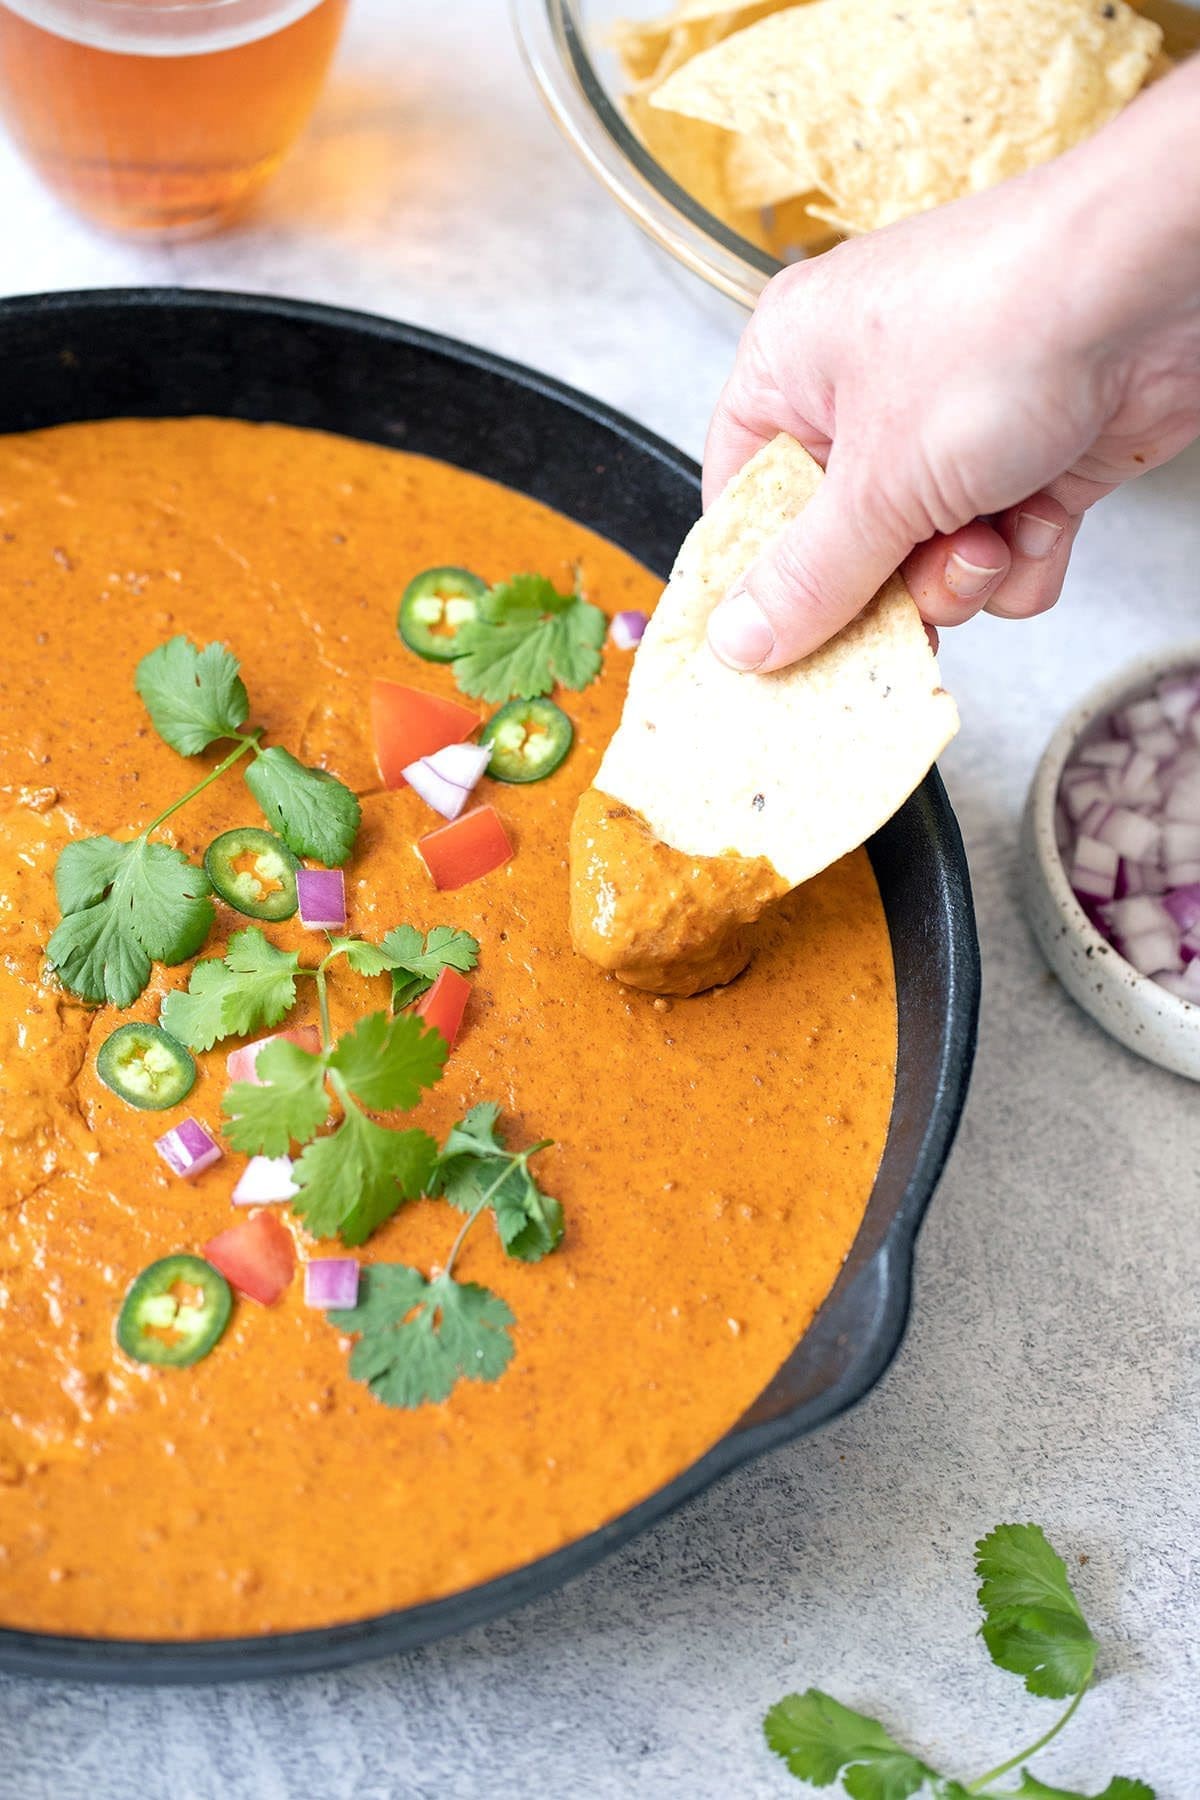
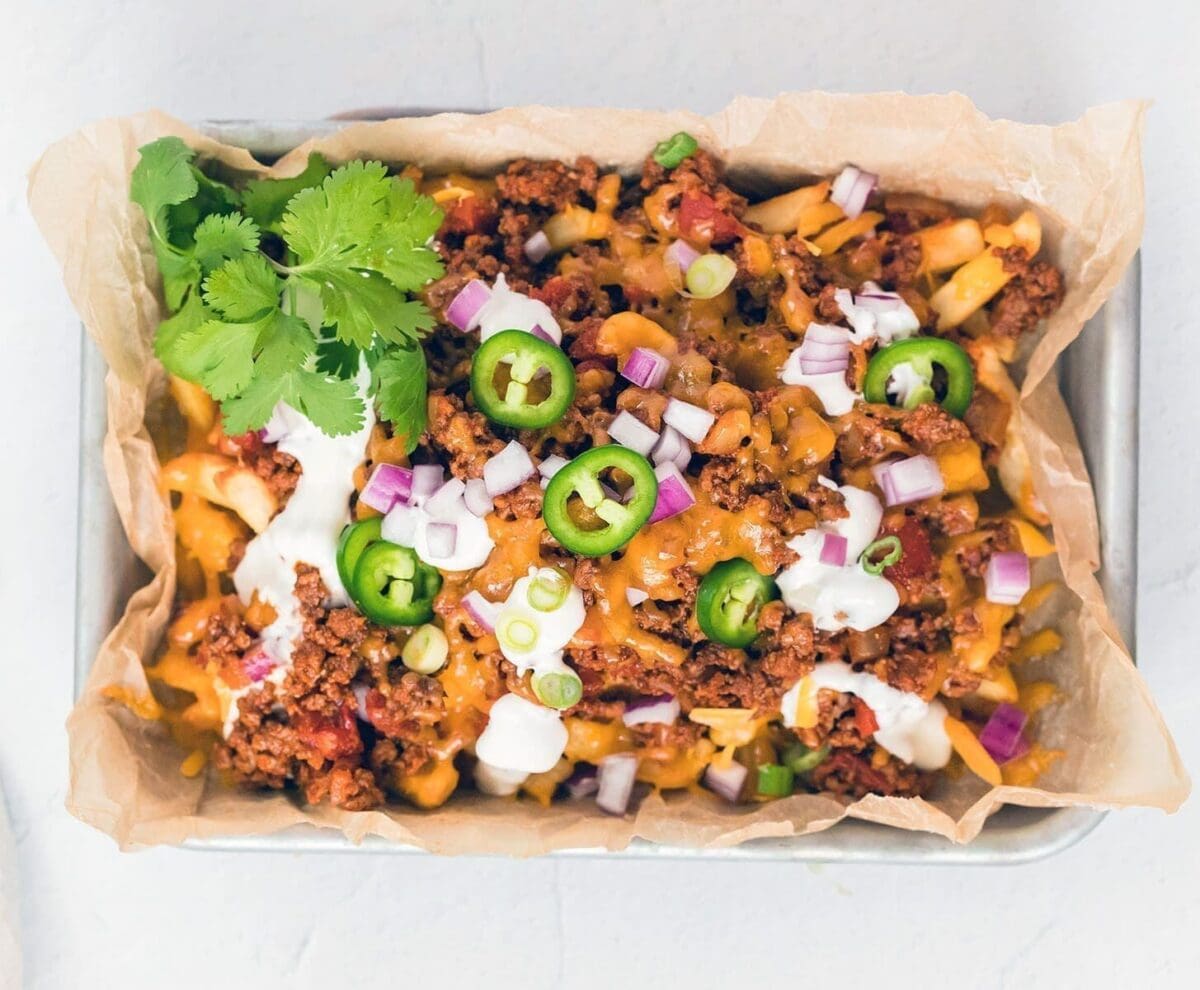
Also known as Chili Con Queso, this chili dip takes about 50 minutes when using our homemade chili recipe or 20 minutes when using canned chili. We use this chili recipe to make our famous Chili Cheese Fries.
Chili Cheese Dip
Chili cream cheese dip is one of our go to Appetizer Recipes as it’s inexpensive, quick to make and always a hit with the crowd.
Chili and Cream Cheese Dip
This basic chili recipe is our favorite chili to make when utilizing as a topper or queso mixer. It’s quick to prepare, full of flavor and has the perfect consistency (THICK)! Smoked Chili and Chili Cornbread Casserole are up there also!
To make, you’ll need basic chili ingredients and a pound of ground beef. See the recipe card below for the full list of chili ingredients.
Canned Chili
Only 4 ingredients are required to make cream cheese with chili when using canned chili.
- Cheddar and/or Pepper Jack Cheese
- Canned Chili
- Cream Cheese (Sub in Smoked Cream Cheese)
- Salsa
Beans or No Beans
Ah, the age old debate. It’s totally up to you. Like beans? Just throw in a can of drained kidney beans to the homemade chili or grab canned chili with beans.
Most Important Thing To Remember
While this seems like a cut and dry recipe, there is one VERY IMPORTANT STEP you don’t want to mess up. Freshly grated cheese can, and will, become gritty if heated too quickly. So when we call out low heat, STICK TO LOW HEAT.
If your cheese dip ever turns oily or gritty, it is usually due to heat or cheese choice. Here’s how to pick the best queso cheese and how to fix grainy queso for a smoother result.

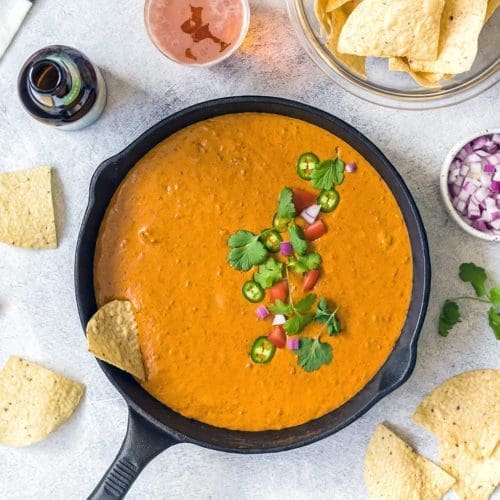
Skillet Queso
When making skillet queso recipes, such as Green Chile Queso, Choriqueso, White Queso Blanco, Salsa Con Queso, or Bacon Spinach Dip, we transfer the queso to a small crockpot when finished to maintain the heat and texture.
If you prefer not to use a Crockpot, using a cast iron skillet is ideal as the cast iron retains heat for longer than a non-stick or aluminum skillet, so the queso will stay warm longer.
Crockpot Version
This dip takes longer to make in the Crockpot than the stovetop, but it’s more hands off. Plus you don’t have to transfer it to another vessel to keep it heated if you’re serving it as a party appetizer.
To make Crockpot queso, add the chili, cheese, cream cheese and salsa to a small or medium size Crockpot and stir to combine. Set the temperature to low for 1-2 hour, stirring occasionally. Once the cheese has fully melted, turn the temp down to warm to avoid gritty cheese.
Would you like to save this?
Dipper Ideas
While nothing beats chips and chili dip with cream cheese, in our opinion, there are some other “dipper” options to consider:
- Baguette (or other sliced bread)
- Crackers
- Arepa Con Queso
- Fresh Vegetables – Carrots and Bell Peppers
- Potato Chips
- Pretzel Bites
- Pita Chips
- Pork Rinds
More dip recipes to check out: Rotel Dip, Smoked Queso, and Refried Bean Dip.
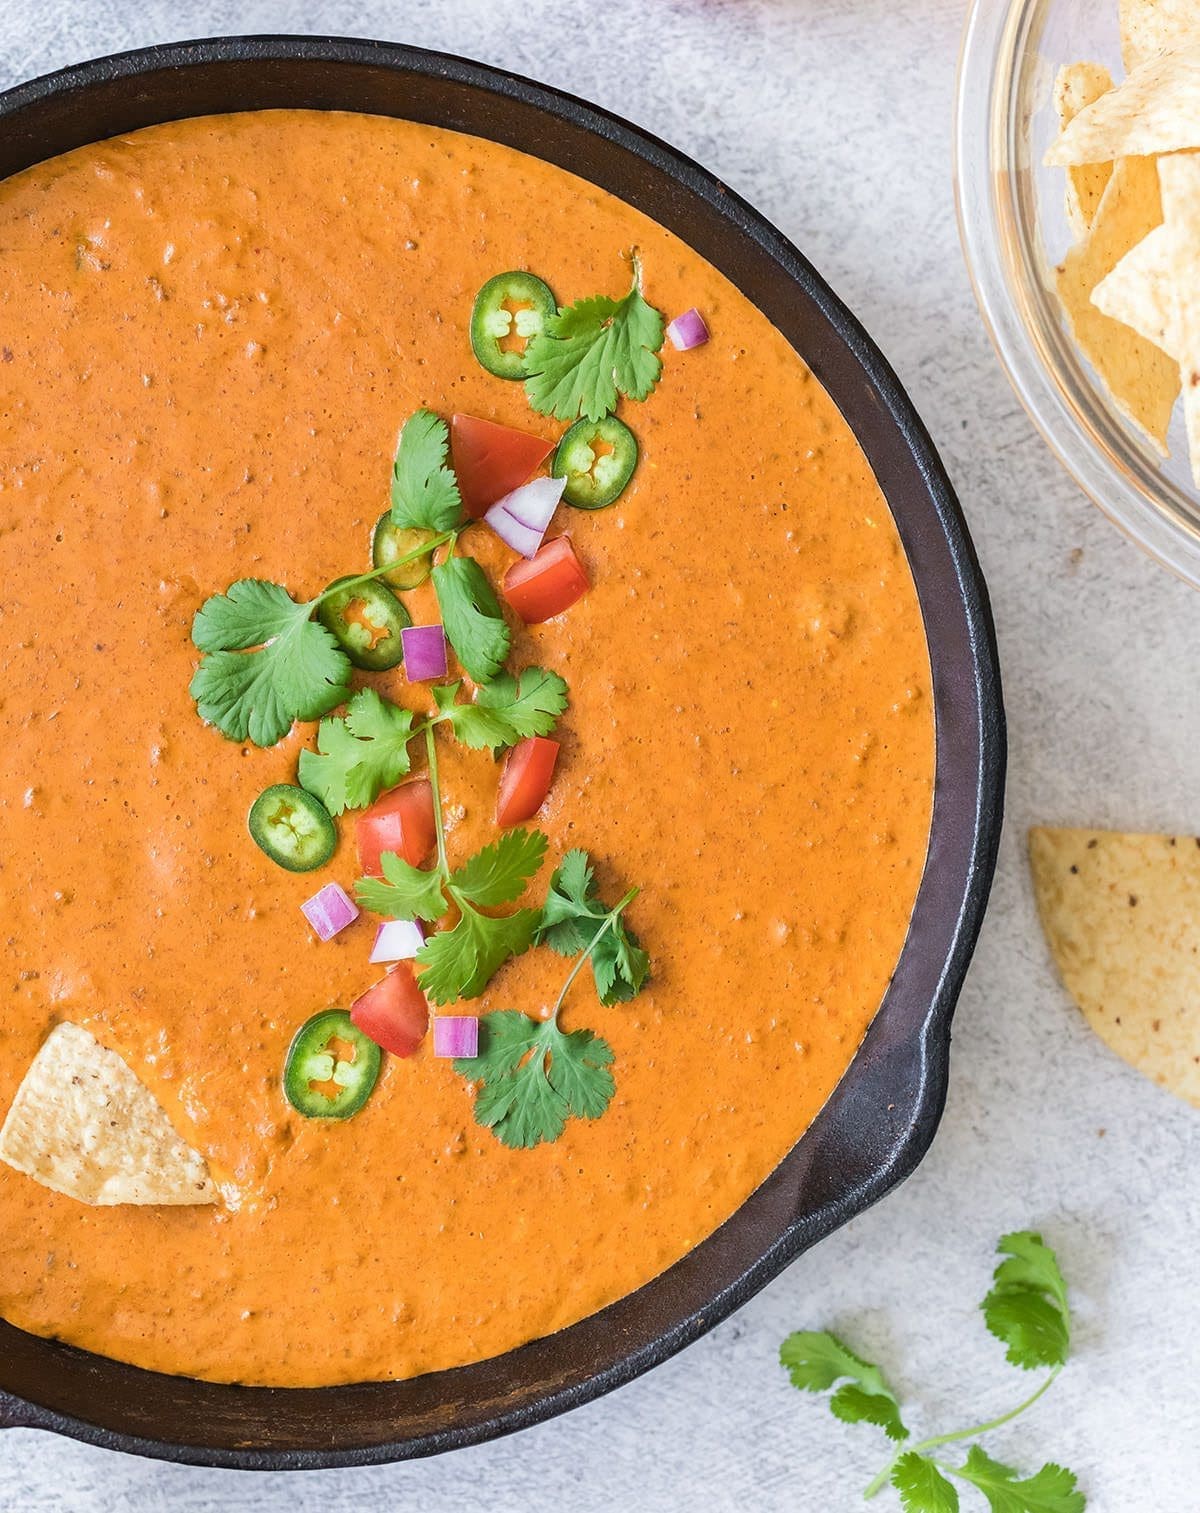
Topping Ideas
Any toppings that belong on a bowl of chili, belongs on this dip. Here are a few of our favorite chili toppings to consider adding:
- Pickled Peppers
- Pickled Banana Peppers
- Pickled Red Onions
- Sour Cream
- Pico de gallo
- Chopped Green Onions
- Chopped Fresh Tomatoes
- Cilantro
Pro Party Tip: it’s extremely easy to customize this popular dip to appease different preferences. For example, once finished we break the batch into two and spike one with cayenne pepper or diced jalapeno for the folks who like some spicy queso. The other half remains untouched for the folks who like mild queso.
Where To Use
Add this dip to your favorite chili cheese-based recipes or even Mexican recipes. I mean, queso fajitas sound amazing, right? Here are a few we’d serve it on:
- Chili Cheese Burger
- Chili Cheese Hot Dogs
- Chili Cheese Nachos
- Carne Asada Recipes
- Taco Recipes
- Burritos
Variations
Velveeta Chili Cheese Dip – To use Velveeta instead of freshly grated cheese, just omit the cheddar and sub in 16 oz of your favorite Velveeta flavor. You can turn the stovetop heat up to medium vs. low as you no longer have to worry about gritty cheese.
Hormel Chili Cheese Dip – To make Hormel chili dip, just use a Hormel branded canned chili. No other edits are required.
Green Chili Queso – To make, sub in equal parts of your favorite chili verde recipe in place of the ground beef chili. If using our Chile Verde, make sure to finely shred the pork or chicken and boil for an extra 10-15 minutes to reduce down the liquids to thicken.
Expert Tips
- As the ground beef will be drained, you can utilize any % of fat. It won’t matter to the final product.
- You must shred the cheese! Do not buy pre-shredded cheese as it’s coated in cellulose, which prevents it from melting. Break out your cheese grater and get to shredding.
- Get a nice mix of cheese going to amp up the flavor. We love going with a 75% cheddar/ 25% pepper jack mix.
- Make it up to 3 days in advance to cut down on prep time, if serving at a party.
- Due to the use of dairy, we do not recommend freezing queso. Cream cheese recipes are notorious for having an “off” texture after thawing.
Drink Pairings
You can’t go wrong reaching for a Michelada, Margarita, Mexican Mule, Beermosa or an ice cold beer to pair with a Chili Cheese Dip.
Chili Cheese Dip
Ingredients
USING CANNED CHILI
- 2 cans Canned Chili (14 oz each)
- 2 cups Freshly Shredded Cheddar Cheese (*Note 1)
- 4 oz Full-fat Cream Cheese, Cubed
- ¼ cup Salsa
USING HOMEMADE CHILI
- 1 lb Ground Beef
- ½ cup Diced Onion
- 2 tsp Minced Garlic
- 1 tsp Cumin
- 1 tsp Chili Powder
- ½ tsp Salt
- ¼ tsp Paprika
- 1 can Diced Tomatoes (14.5 oz)
- ½ cup Beef Broth
- ⅓ cup Tomato Paste
- 1 tsp Worcestershire Sauce
- 2 cups Freshly Shredded Cheddar Cheese (*Note 1)
- 4 oz Full-fat Cream Cheese, Cubed
- ¼ cup Salsa
Instructions
USING CANNED CHILI
- Add the chili, cheese, cream cheese and salsa to a medium saucepan and stir to combine. Turn the heat on LOW (*Note 2), stirring often.
- Continue to stir and heat for about 15 minutes, until the cheese is fully melted and the chili is warm throughout.
- Serve immediately or transfer to a Crockpot set to warm.
USING HOMEMADE CHILI
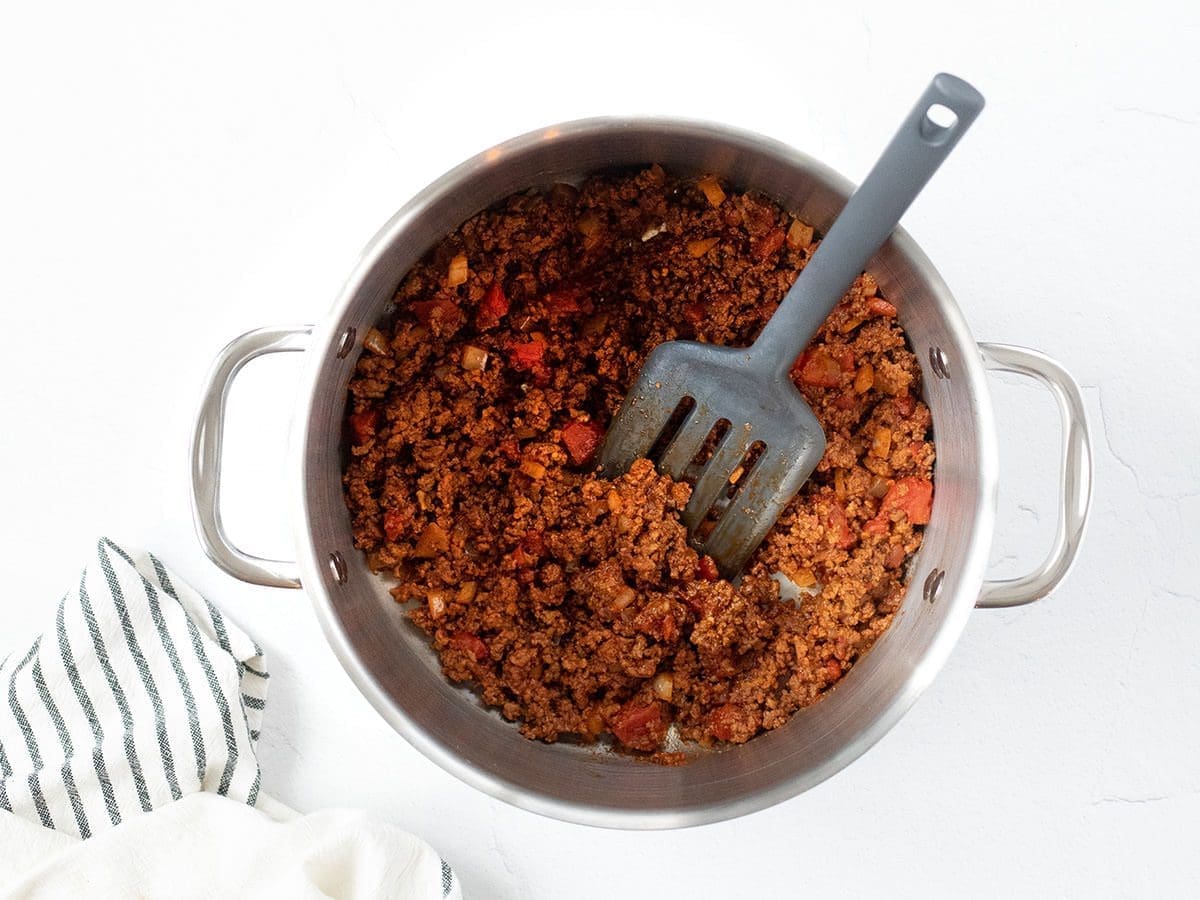
- Pre-heat a medium skillet or saucepan over medium-high heat.
- Add the ground beef and cook until browned (approx. 8-10 minutes), using a wooden spoon to break into small crumbles as it cooks.
- Push the ground beef to one side of the pan and add the onions to the other. Cook until the onions are softened 5-6 minutes. Add the garlic to the onions and cook about 30 seconds, until fragrant.
- Stir in the chili powder, cumin, paprika and salt and cook for 1 minute.
- Stir in the diced tomatoes, beef broth, tomato paste and Worcestershire Sauce. Let simmer, stirring occasionally, until thickened (approx. 15 minutes).
- Remove from the heat and let the chili cool down for 10 minutes before proceeding to the next step (to help ensure the cheese doesn't become gritty.)
- Add the cheese, cream cheese and salsa to the chili and stir to combine. Turn the heat on LOW (*Note 2), stirring often.
- Continue to stir and heat for about 7-8 minutes, until the cheese is fully melted and the chili is warm throughout.
- Serve immediately or transfer to a Crockpot set to warm.